by Makayla Updated on 21 Dec 2025.
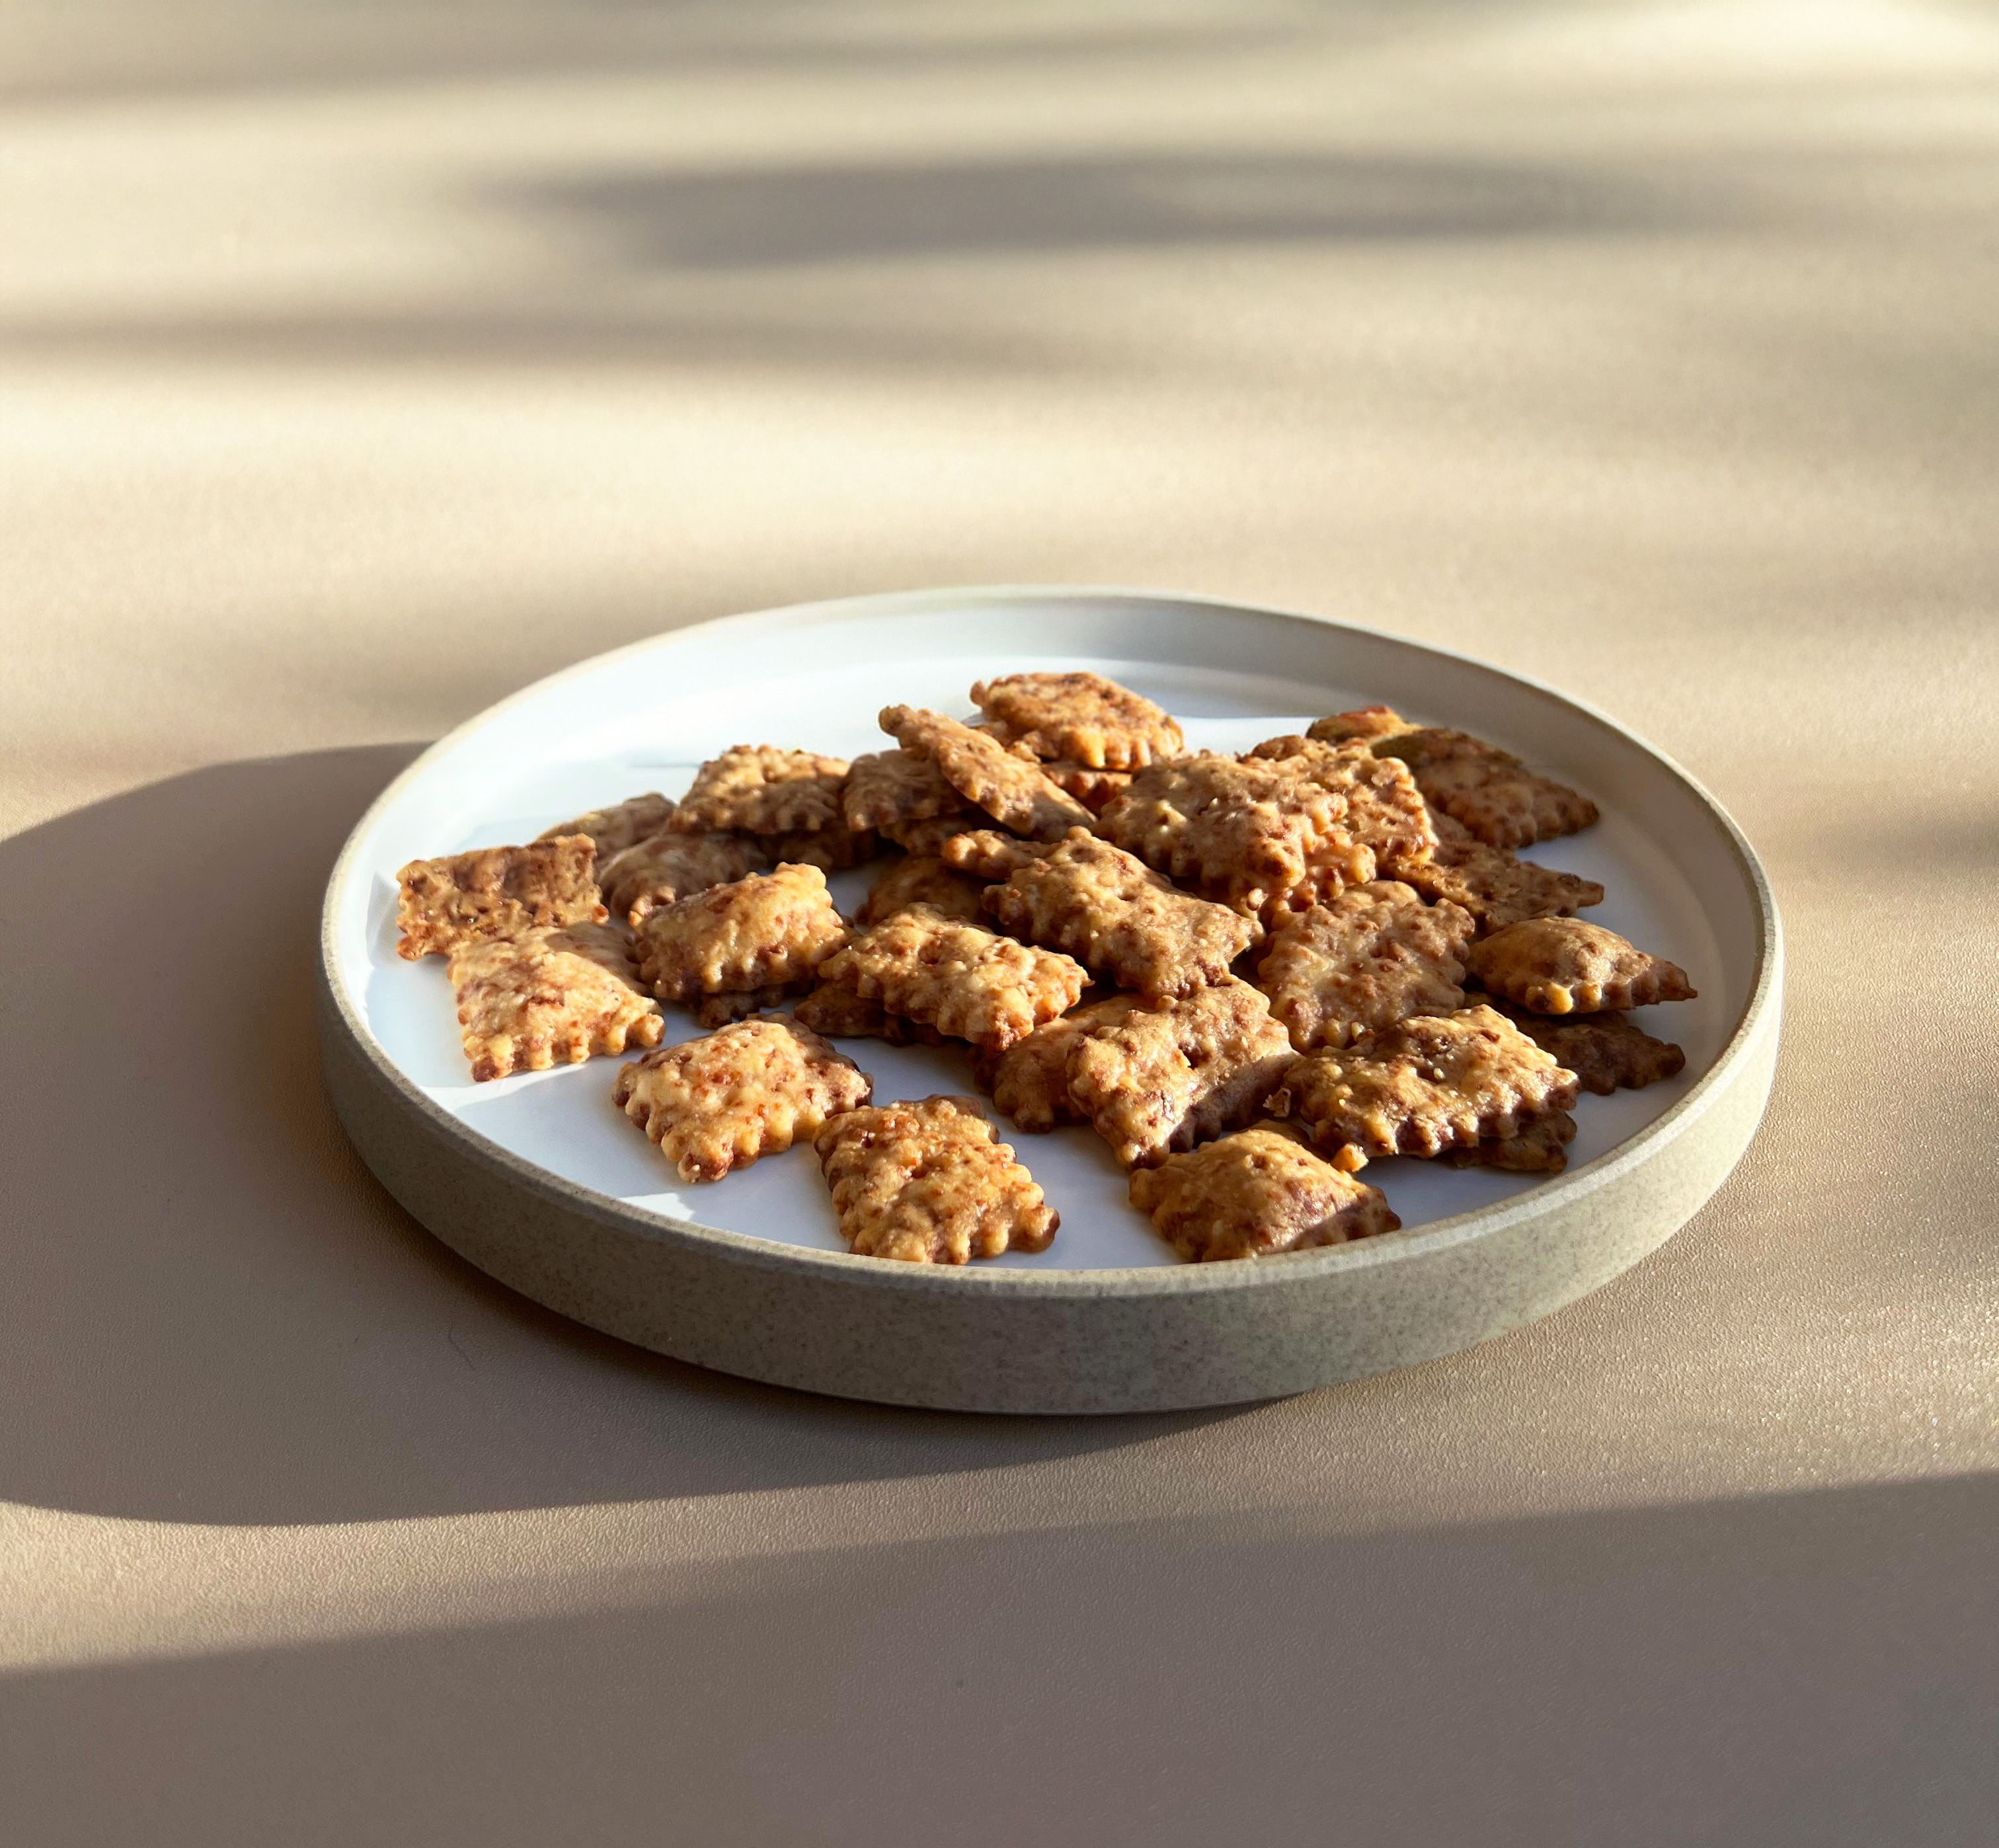
Cheese crackers are a fun, hands-on snack that kids can help make from start to finish. With just a few pantry staples and a sprinkle of giggles, you’ll have crispy, cheesy bites ready in no time. Let’s stir, roll, and bake!
Step by Step Guide (with Kid friendly tasks)
Step 1: Prep the Ingredients
You’ll need grated cheddar cheese, cold butter, flour, salt, and a splash of cold water. Optional: paprika or garlic powder for extra flavor. I use pre-shred cheddar cheese in this recipe, but you can also use blocked cheese which is more flavorful.
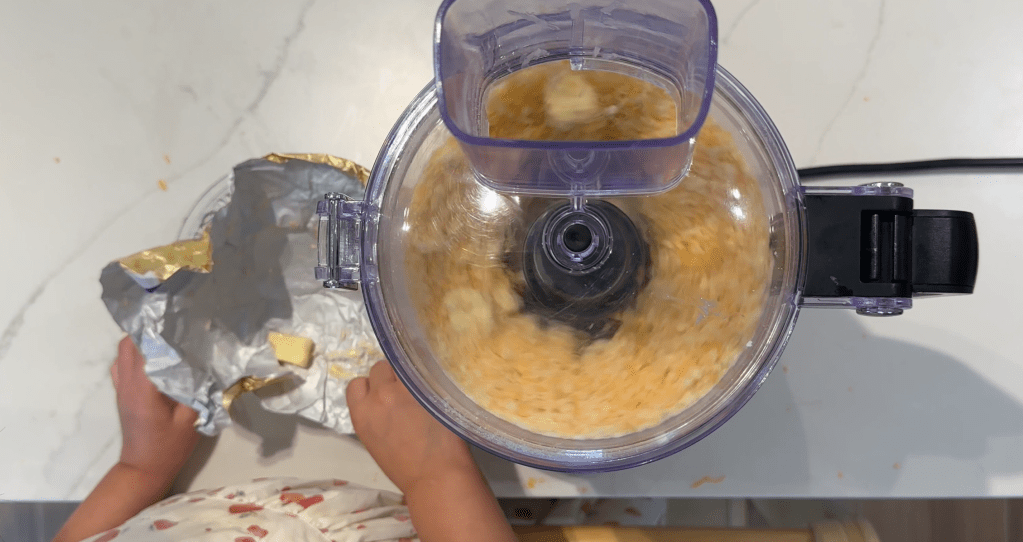
Step 2: Make the Dough
Combine cheese, flour, and seasonings in a food processor. Pulse until crumbly. Add cold butter and pulse again. Slowly add water until the dough forms.

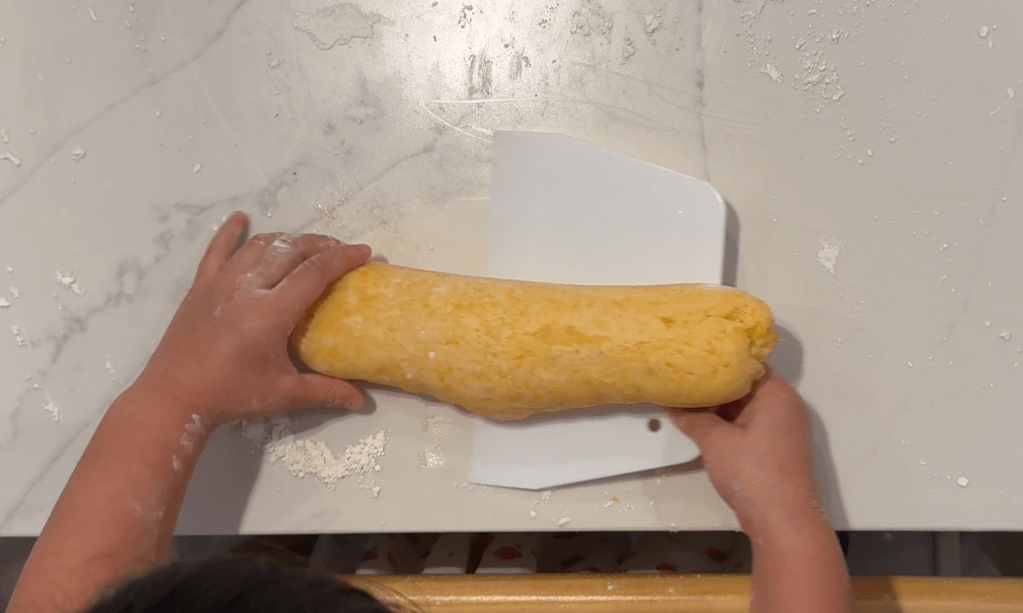
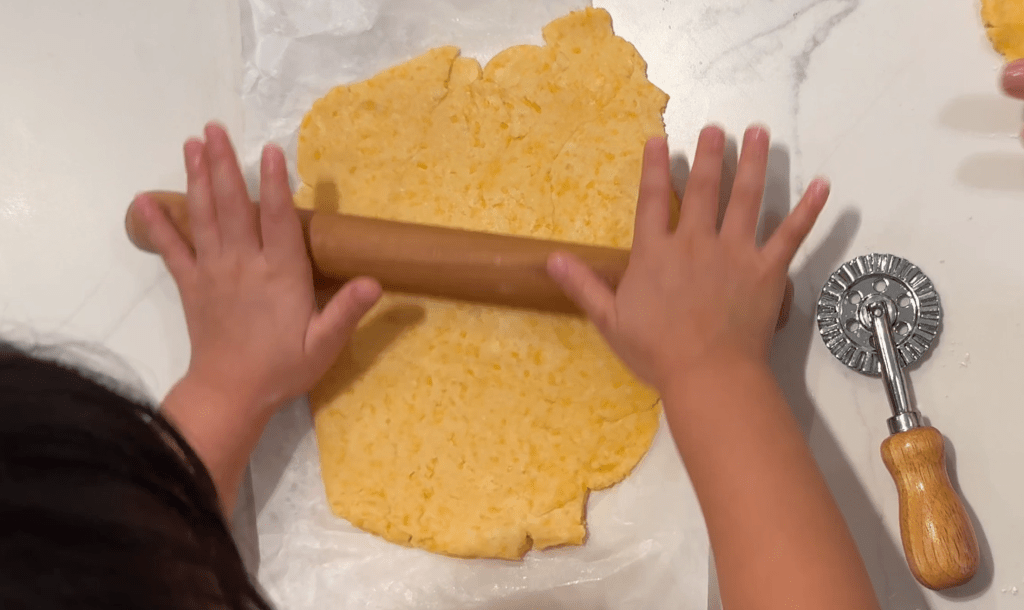
Step 3: Roll and Chill the Dough
When the dough forms, slightly flour the working surface and hand. Roll the dough into a ball and using a rolling pin to roll it flat. Wrap the flatten dough in cling film and chill for at least 1 hour. This helps the crackers hold their shape and bake evenly.
Step 4: Roll and Cut
Roll out the dough to about 5mm thick. Use cookie cutters or slice into squares with a fluted pastry cutter. Let kids choose fun shapes—stars, hearts, or even animal faces!

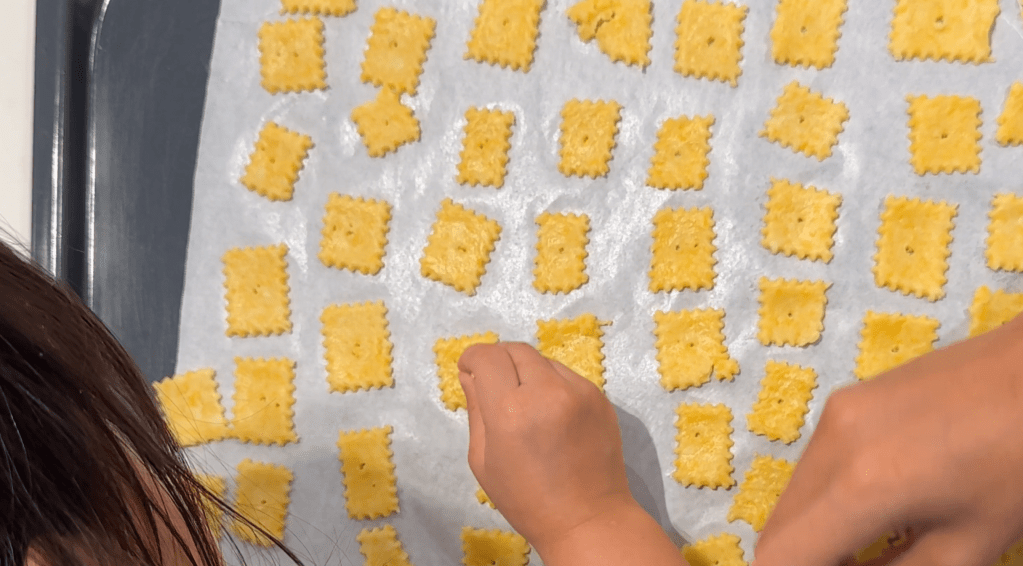
Step 5: Bake
Place crackers on a parchment-lined tray. Poke holes with a fork or skewer to prevent puffing. Bake at 180°C (350°F) for 15–20 minutes until golden and crisp.

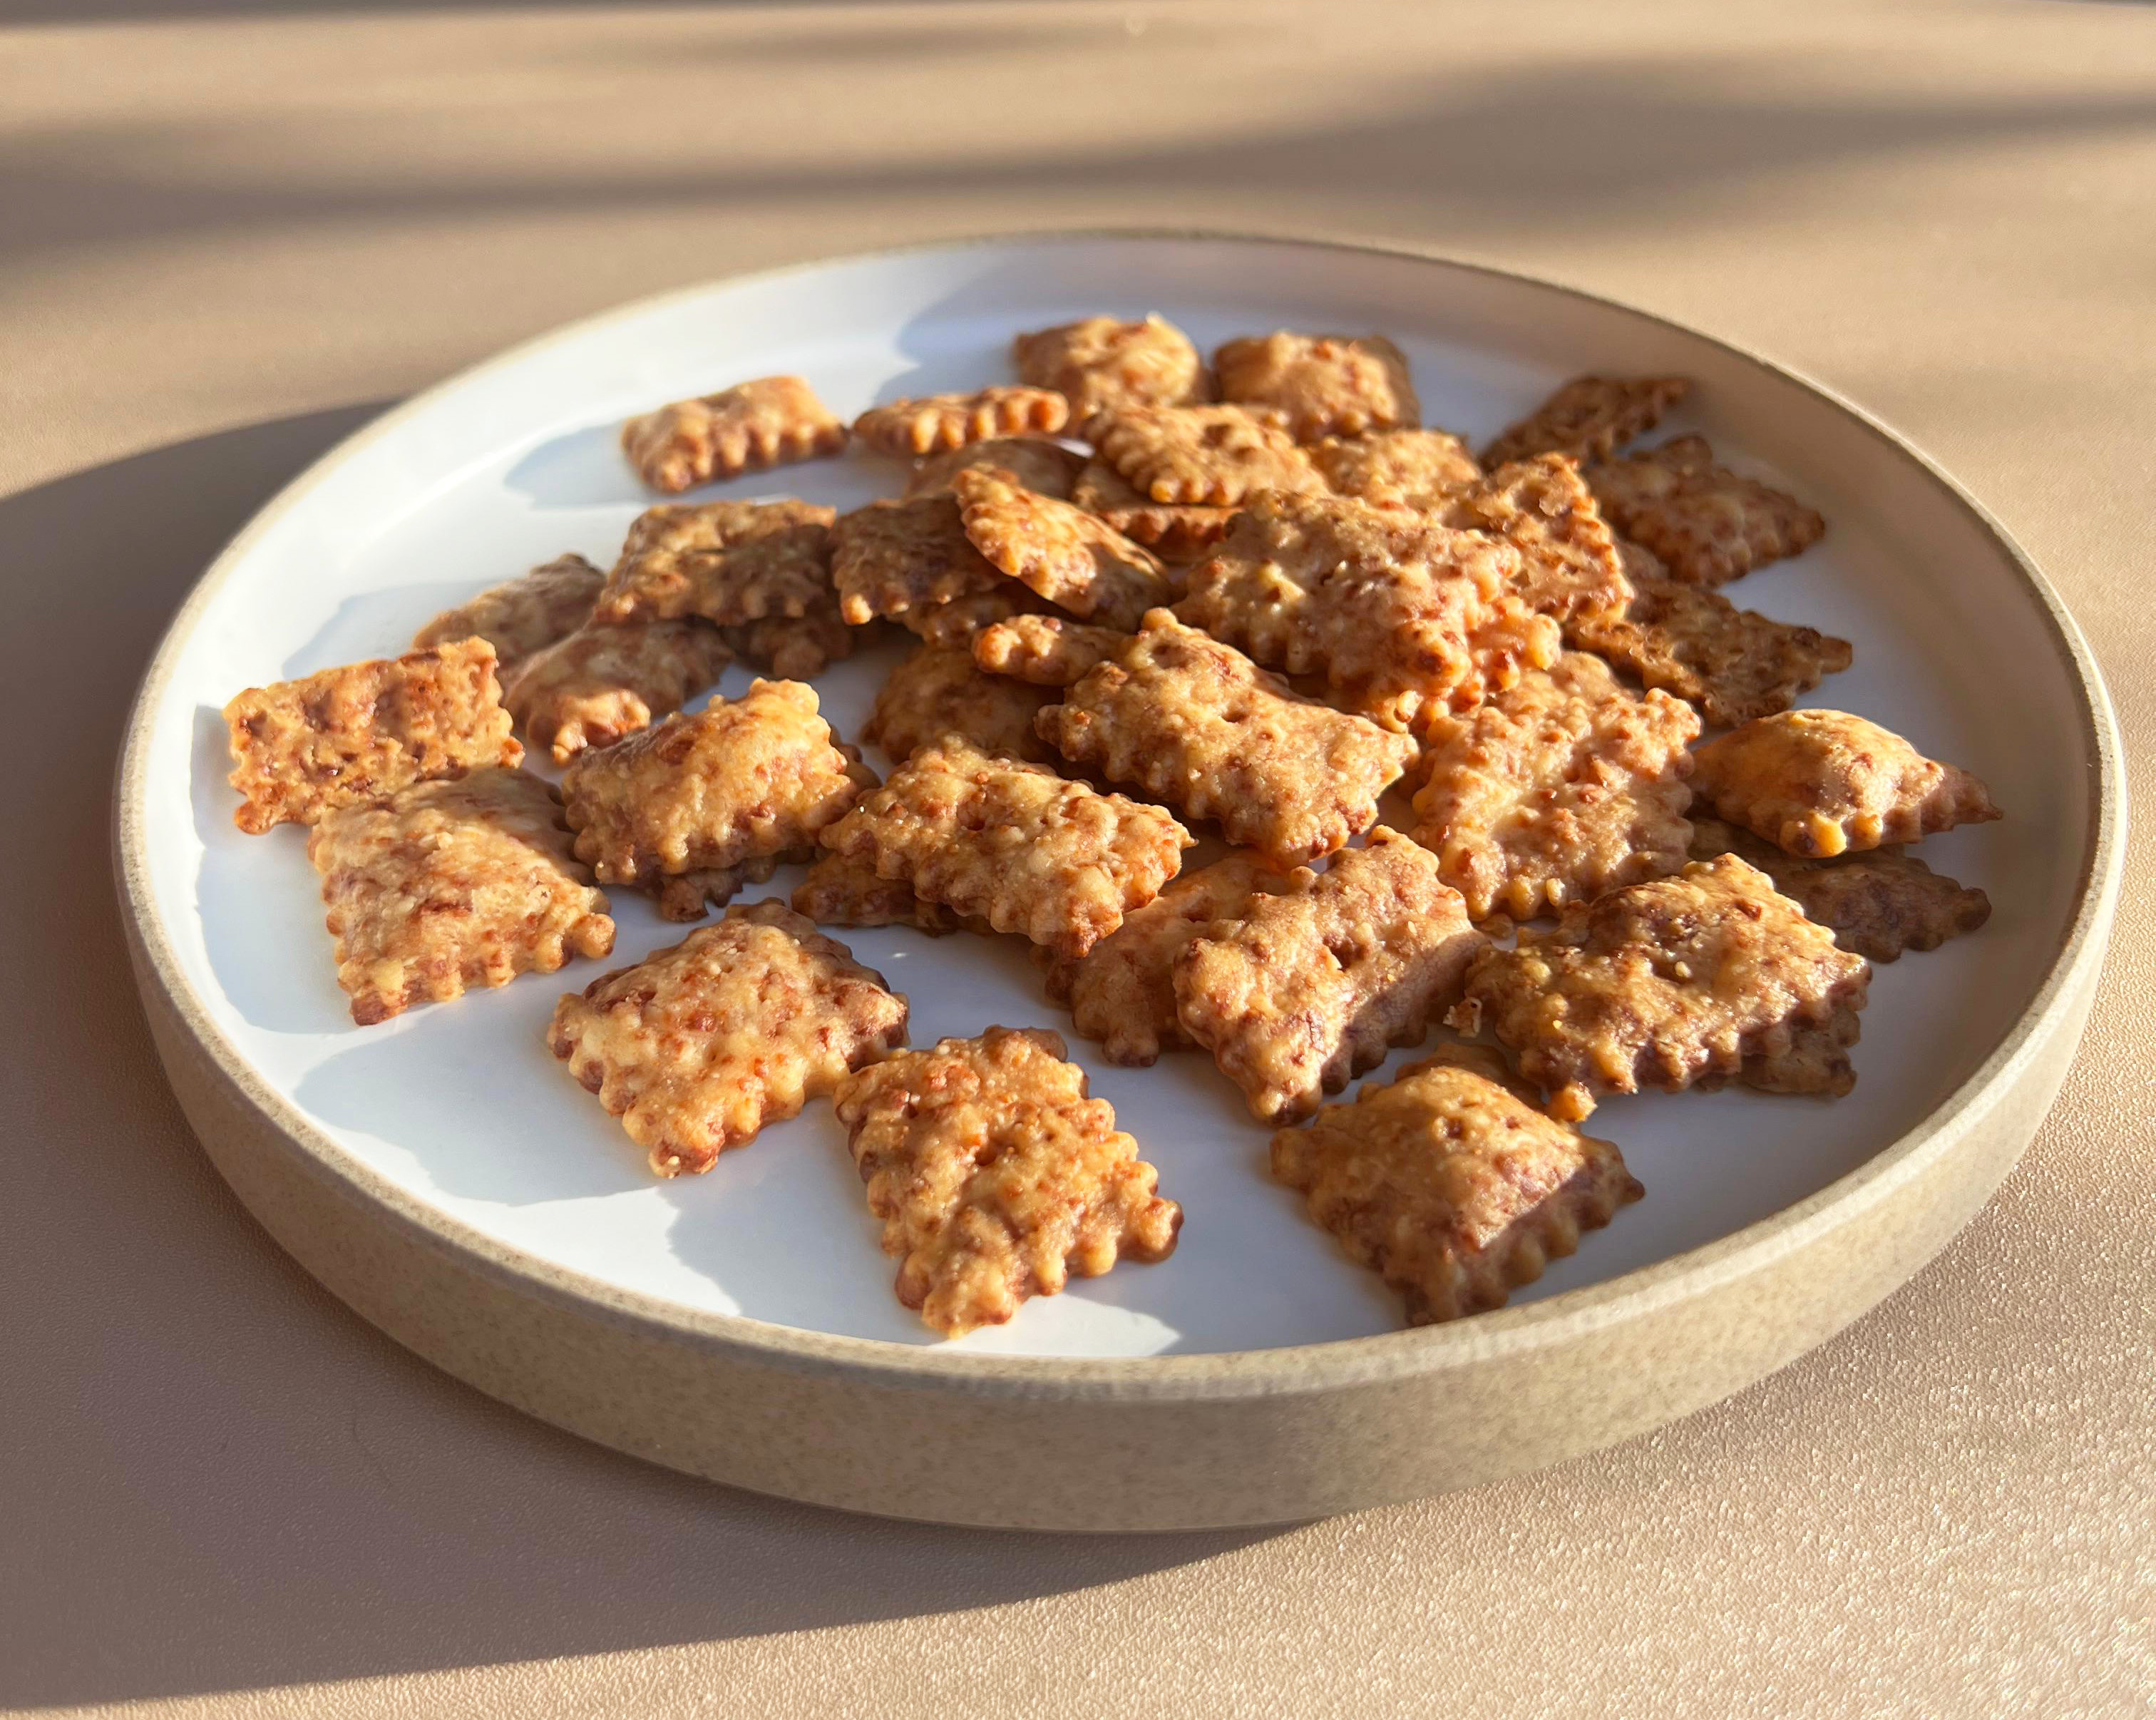
Step 6: Cool and Store
Let crackers cool completely—they’ll crisp up as they cool. Store in an airtight container for up to a week (if they last that long!).
Pros of The Recipe:
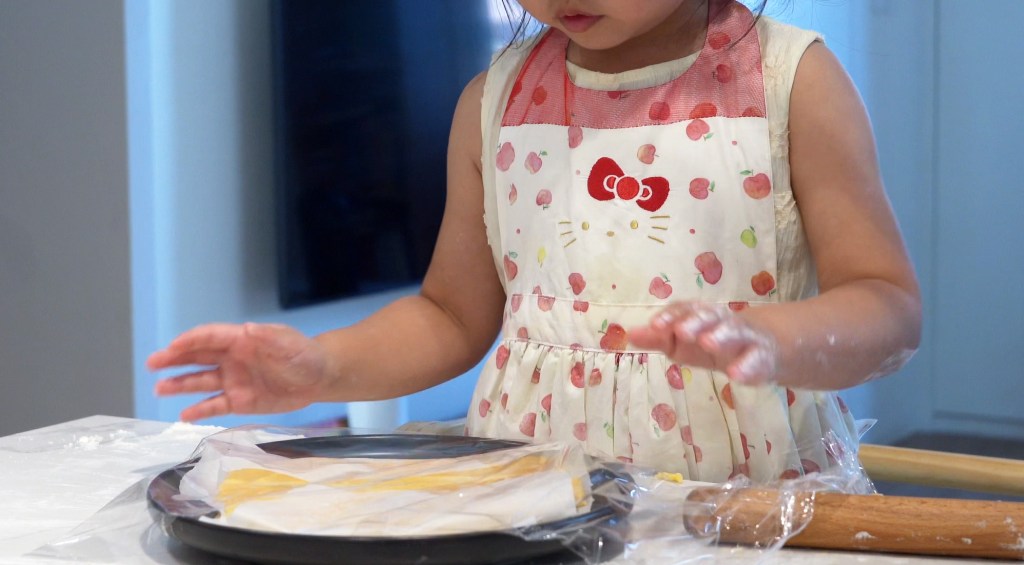
Kid-Friendly & Interactive
Rolling, cutting, and poking holes make this recipe a hands-on activity that toddlers love. Great for bonding and building motor skills.
Simple Ingredients
Uses pantry staples like flour, butter, and cheese—no fancy shopping required.
Customizable Flavors & Shapes
Add herbs, spices, or use fun cookie cutters to make it your own. Perfect for themed snacks or picky eaters.
Healthier Than Store-Bought
No preservatives or artificial flavors—just real ingredients you can trust.
Make-Ahead Friendly
Dough can be chilled or frozen, and crackers store well for up to a week.
Watch How to Make It !
LOOKING FOR MORE? Subscribe to our newsletter and follow along on YouTube and Instagram for all the latest updates.
Homemade Cheese Cracker
Author: Makayla
Preps: 20 mins + 60 mins Chill time
Bake Time: 15mins
Total: 95 mins
Meal Type: Snacks
Ingredients:
For the Dough
- 150g grated cheddar cheese
- 85g unsalted butter (cold)
- 120g all-purpose flour
- 7g paprika (optional)
- 1g salt
- 30ml cold water
Instructions:
- Mix the base : In the food processor, combine grated cheddar, flour, paprika and salt. Mix until combined. Add butter and process the mixture further, where the mixture start to form large clumps.
- Form the dough : Add cold water, one tablespoon at a time, until the dough comes together. Shape into a ball, wrap in cling film, and chill for 1 hour. (or you can keep refrigerating it for up to 2 days.)
- Roll and cut : Preheat oven to 180°C (350°F). On a lightly floured surface, roll out dough to about 5mm thick. Cut into squares using a fluted pastry wheel or fun cookie cutters – pick your favorite! Place the squares / cutter shapes on the prepared baking sheet.
- Poke and bake : Use a fork to poke a hole in each cracker (this helps them bake evenly).
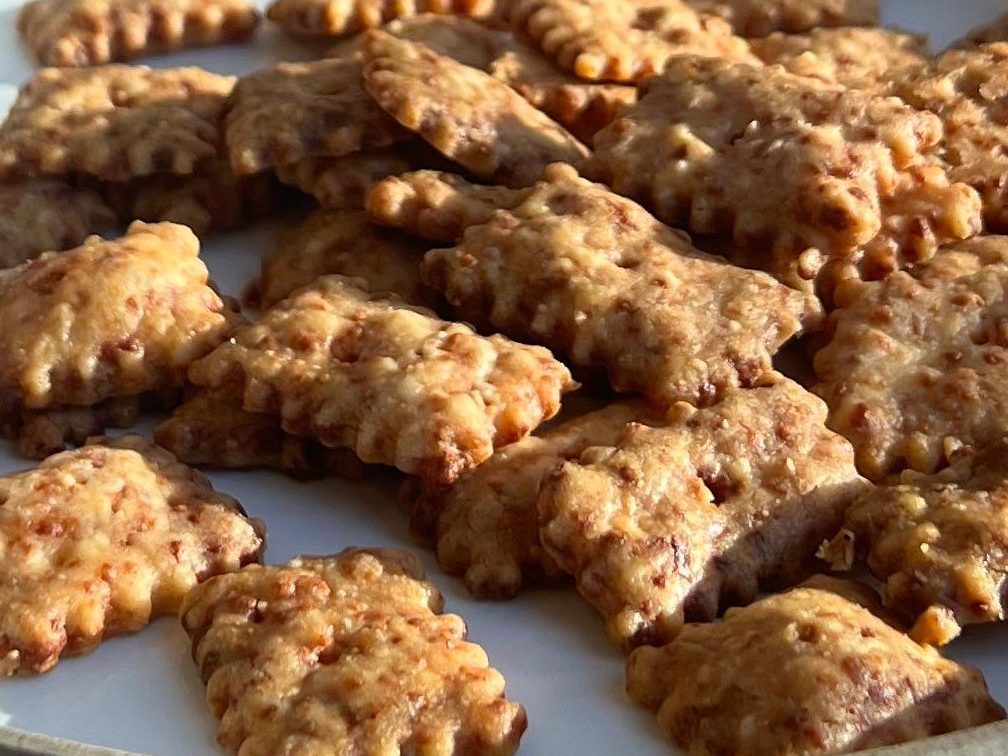
- Bake : Bake for 15–20 minutes until golden brown. Remove from the oven and let them cool—they’ll crisp up as they cool.
Toddler Tips:
- Let kids grate cheese with a safe grater or sprinkle flour on the dough.
- Use animal-shaped cutters for extra giggles.
- Store in an airtight container for up to a week (if they last that long!).
Notes:
- Store left over crackers at room temperature for 5 days. You can also freeze them once cooled to keep them for 1 month.


Leave a comment